Boat Maintenance: Flushing an Outboard Engine
Every boater knows that flushing an outboard engine is crucial to its lifespan (and wallet of said boater). While tedious, it’s a necessary task. Along with general engine maintenance, flushing the outboard prevents saltwater damage and the buildup of salt, algae and other marine elements, which can clog and corrode the engine.
There is some debate on this subject, but even boating in freshwater lakes and rivers can require the task of flushing the engine. There are all sorts of things (like bacteria, grit, sediment and microbes) that can get sucked up into the engine. I don’t know about you, but my local lake and river are filled with algae and churned up muck (especially after heavy rain and lots of boat traffic in the summer). You may not need to flush as often, but it should occasionally be done. It’ll prolong the life of the engine and keep it running smoothly.

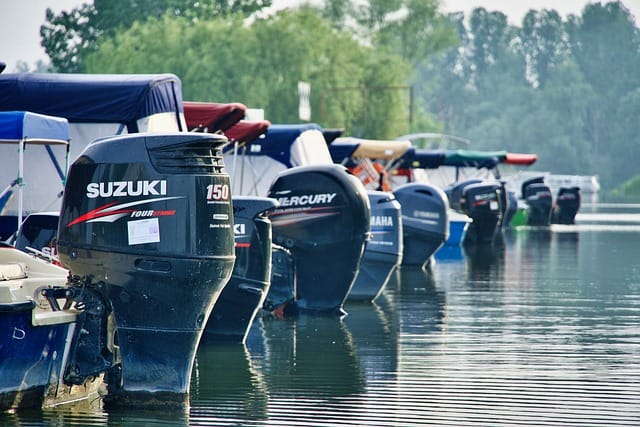
Photo: Wikimedia
There are a couple of methods that can be used to flush an outboard. Some don’t even require that you start the engine.
When to Flush an Outboard Engine
- After boating in brackish or saltwater
- Occasionally after boating in freshwater
- After sitting for an extended time
- While winterizing (experts recommend flushing with antifreeze)
Flush Muff Method

Photo: Amazon
Flush muffs are the tried-and-true most common method for flushing an outboard engine. They resemble headphones and fit around the gearcase to cover the water intakes (just like headphones fit around your head). The muffs are then connected to a garden hose. Next, run the engine for approximately five minutes. Keep the engine in neutral while doing this (a fast idle is fine). If you’re anxious about flushing for the first time, check out a YouTube video from a reputable company like BoatUS or ask a seasoned boater for assistance.
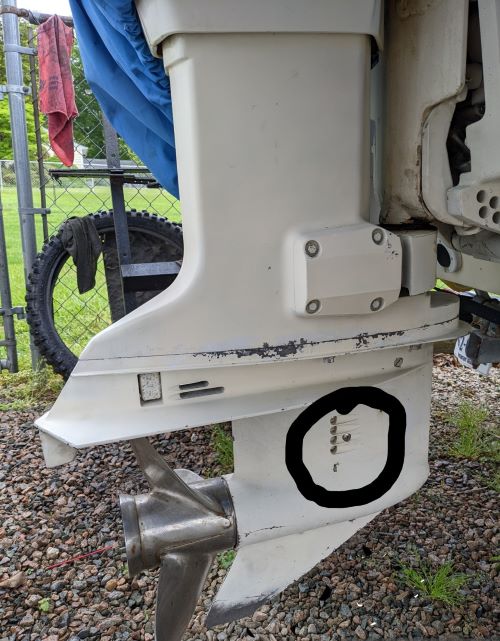
Water Intakes (circled)
Make sure you seal off other sources of water intake so as not to cause overheating. Another thing to note is that some engines don’t have the water intakes on the side of the engine. There’s a special type of attachment needed to cover the front of the gear case in this situation.
Benefits
- Inexpensive
- Easy to use
- Easy to find at marine stores
Built-In Garden Hose Attachment Method
This feature comes standard on many of the newer outboard engines. Simply tilt up the motor, find the connection point, hook the hose up to it, turn on the water and let it run for about 10 minutes.
With this method, you’ll want to be sure you don’t cross-thread the connections. If they’re plastic, they can be damaged by the metal fitting of the hose.
The biggest benefit of this type of flushing method is that the engine doesn’t usually need to run, making it easier and less noisy (in the event of a dead battery or if it’s 6:00 in the morning on a Saturday and you have neighbors at a boat dock rental or next door).
Flushing Bag Method
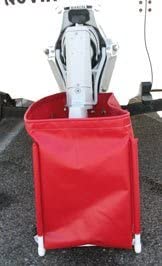
Photo: Amazon
Flushing bags are heavy-duty soft-sided bags (usually plastic or vinyl). There’s a sturdy frame inside the bag. It fits around the lower engine to completely cover it. You’ll then attach a garden hose to fill it and keep the water circulating. Next, start the engine and proceed as you would with regular flush muffs. Keep the engine at an idle speed. Be sure to remove the prop before fitting the bag snugly around the lower unit.
Whether you’re flushing an outboard at home, at the marina or at a private boat lift for rent, always follow the manufacturer’s instructions. With regular flushing and engine maintenance, your outboard should serve you well for years. Let us know if you have any outboard engine tips you recommend.