How to Install Boat Cleats on Your Dock

Whether you do it yourself, hire a contractor or bribe a handy friend with a case of beer, installing cleats to a dock is a relatively easy process. All you need is the cleat, hardware, some basic power tools and you’re good to go.
Cleats need to be weather and rust-resistant as well as durable enough to withstand the strain of a boat being tied to it and moving around on the water. While they’re usually metal, boat cleats can also be plastic or nylon. Shiny stainless-steel cleats are typically installed on boats, but they can also be used on docks. Galvanized metal or aluminum cleats are tough and durable and last for years. Nylon is high-impact and UV-resistant.
Types of Cleats
There are a couple of different types of cleats. They all provide the same service, but some have extra features that you may want to check out.
Horn Cleat
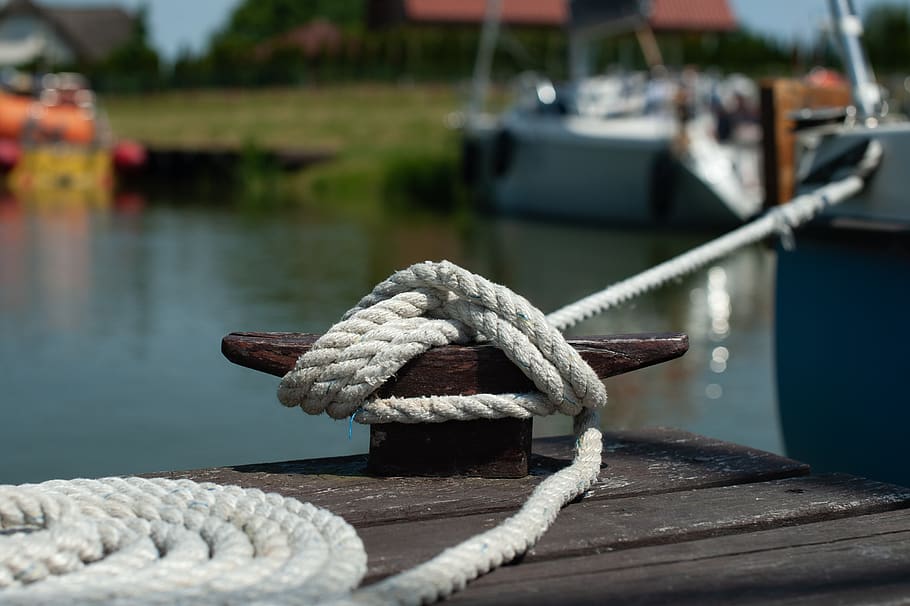
This is the traditional type of cleat seen on most docks. There are two “horns” on either end that keep the rope in place.
S-Style Cleat
This type has a wave shape that makes it easier to loop the rope around it (plus it looks cool).
Flip-Up Cleats
Flip-up cleats, like the names says, flip-up when they’re being used. They fold down when not in use, which prevents tripping and stubbed toes. They’ve become popular in recent years both for convenience and the stubbed toe factor.
Solar Dock Cleats
Solar cleats are just like a traditional cleat but there’s a light on the side or top. This is a great feature for late night and early morning boaters.
Things to Keep in Mind when Installing Cleats
The size of the cleat needs to correspond to the size of the boat that will be tied up to it. If the cleat is too small, it won’t be able to securely hold the boat.
The number of cleats you install on the dock depends on how big the boat is. Try to match them up with the location of the boat cleats for a customized fit. As a general rule, seven to 10 feet apart is a typical distance. This way, if you rent out your private dock space, you’ll be able to accommodate a variety of boat lengths.
Cleats with recessed mounting holes are handy in keeping the bolts away from the rope, which prevents rubbing and wear on the rope (thus preventing the boat from pulling away from the dock).
Materials Needed to Install Cleats
- Cleats
- Screws, nuts and bolts
- Drill with metal or wood drill bits
- Socket set
- Wrench or pliers
- Hammer drill (for a concrete seawall)
- Tapcon masonry screws (for a concrete seawall)
Installing Cleats on a Wooden Dock
Place the cleats where you want them before drilling into the dock. That way, you can make changes without having to un-install. Having them all laid out lets you see if they’re placed in the right position on your private boat dock.
If you have a wooden dock, use lag bolts. You can determine how long the bolt needs to be by inspecting and measuring the thickness of the wood on the dock. For a metal dock, use a carriage bolt (also called a coach bolt). It’s best to install the cleat into the dock frame rather than just the deck if at all possible. This provides a more secure hold.
Installing Cleats on a Concrete Seawall
Most boat docks are wooden, but you can also install cleats on a concrete seawall. Concrete requires a bit more drill power than wood. You’ll want to use tapcon masonry screws. These heavy-duty screws have special threads that thread into pre-drilled holes in concrete or brick. The screw then embeds itself into the concrete by tapping the threads through the material around the hole. This is actually how it gets its name (it “taps” its own threads into the “concrete”).
Use a hammer drill to pre-drill a hole in the concrete. Next, slowly insert the tapcon screw through the cleat and into the concrete wall.
Whether you’re upgrading your dock for your own boat or you have a private boat dock available for rent, lots of sturdy cleats will keep a boat securely in place.


