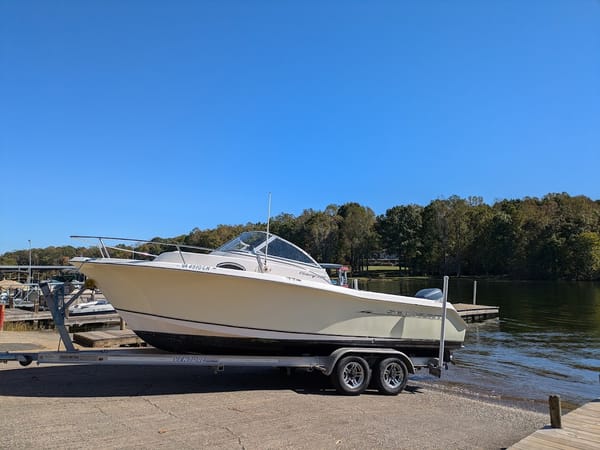
Six Things To Consider When You Dock a Boat
Whenever you are about to start a dock rental, it is crucial that you tie up your boat correctly at the space. This way, your boat will be safe and secure and will neither float away nor get damaged by bad weather. There are six things to consider when you dock a boat, and this blog post explains them all so that you can get ready to tie up.
1. Equipment Required For Docking
As a prerequisite to tying up your boat at a dock space, you must make sure that you have the necessary equipment.
- Dock lines (rope);
- Cleats; and
- Fenders or buoys.
Dock Lines
Having lines on board a boat is an absolute necessity. Without it, you’ll have no way to tie your vessel to the dock.
At a minimum, you should have three lines ready on your boat at any time. The first one is to create the primary dock tie, which will run from the cleat at the bow to the cleat at the stern. The second line is to create a double bow line, and the third is to form a double stern line.
Cleats

Cleats are T-shaped metal hardware/hooks. It is essentially a required piece of hardware to securely tie your boat to a slip, so if your boat does not have them, you can buy them at your local boating store or online. They cost between $5 – $20 each.
Most small- to medium-sized boats (up to 45 ft in length) will have two cleats at the stern and in the middle of the boat, as well as one or two at the bow. If the boat is longer than 45 ft, it is advisable to attach an additional cleat or two along the sides.
Fenders

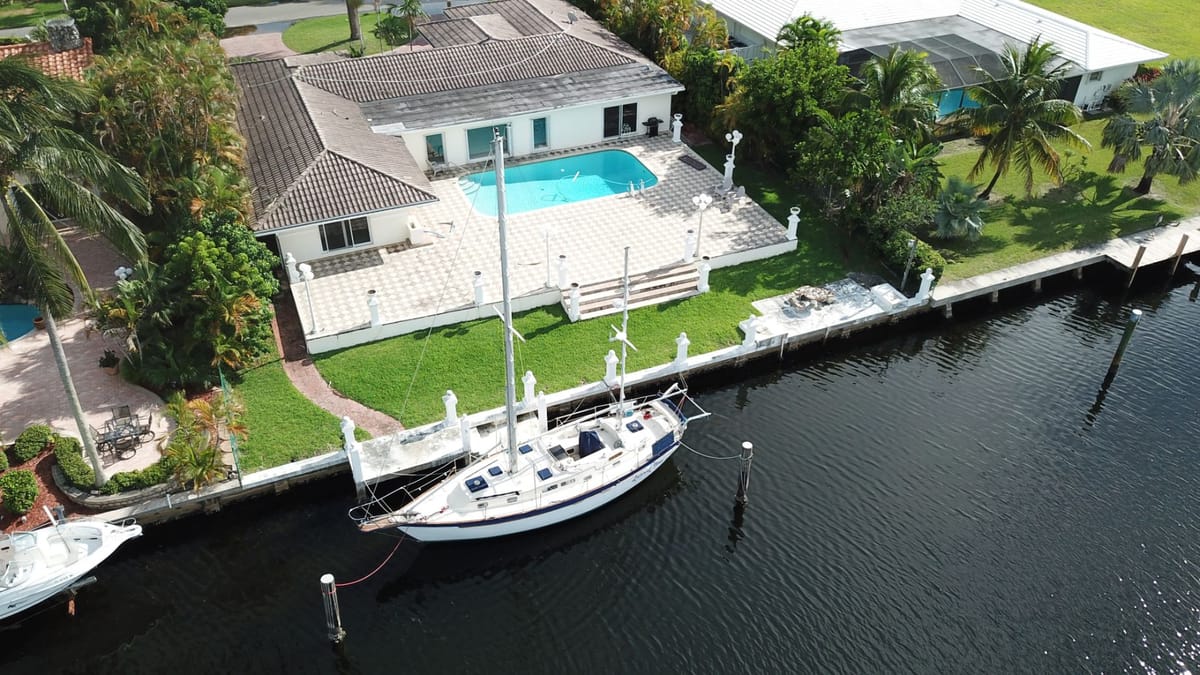
Whenever you dock a boat at a rental space (especially on a long-term basis), you’ll want to have complete peace of mind that your vessel will not only be tied safely to the slip but also that it is resistant to any damage from the elements. The last thing you’ll want to see is that your vessel has been scratched or damaged by the dock as a result of them bumping against one another. This is where fenders come in.
Fenders are bumpers made of foam or inflatable rubber. The type of fender that you need depends upon the length and weight of your boat, as well as the conditions under which you are docking. If you’re going to be renting a dock that has foam bumpers on the pilings themselves, then you do not necessarily need to worry about bringing your own bumpers to the space. However, if the pilings do not have this protection, or you are going to be docking at a space without pilings or on a bare seawall, then fenders are an absolute must.
The most popular fender for recreational boats is the double-eye cylinder. As a general rule, boaters should have a minimum of three fenders and aim for each fender to cover 4 ft – 5 ft of the boat’s length. The price of a fender varies, depending upon shape and quality, but they usually cost between $10 – $20 each.
Buoys
Buoys serve a similar function as fenders, but they are more round instead of cylindrical. They come in many sizes, but most are between 9 – 19 inches in diameter.
Buoys are most commonly used for when you dock a boat on the larger size, such as large powerboats and fishing boats, where a bridge or a raft is required to link the deck and the dock. A buoy performs better than a fender in this situation since a fender would not be wide enough to form a snug fit between the vessel and the edge of the dock.
2. Lowering the Fenders
Whether you choose a fender or a buoy, as you approach the dock make sure to lower the fenders along the side of your vessel that will rest against the slip. As a result, whenever the boat moves in the water, it will not get scratched or damaged because the fenders will take the hit (rather than the vessel).
3. Aligning the Boat with the Dock
Upon your arrival at the dock, make sure your vessel is lined up squarely against the space and positioned exactly where you want it to be. The way you make your approach will depend upon whether you are renting a linear dock, a wraparound dock, or a space that is T-shaped. In any case, you should take a little bit of time to think about the best way to position your boat in the slip, whether that be in a forward direction or in reverse. Furthermore, you should consider the strength of the wind and the direction of the water currents when aligning the vessel. This can be done by looking at nearby flags and observe the nearby pilings to take note of how the water is moving.
Finally, the water marks on the pilings will give a strong indication of the tide level, particularly when the water level is at low tide. It is vital that boaters are aware of the difference in water levels between high and low tide, as it affects how tightly (or loosely) they tie their boat to the dock.
4. Cleat Knots vs. Clove Knots

The dock you’re renting should either have cleats or pilings to tie up to. The only practical difference between the two when tying your boat to the space is the type of knot that you must use – a “cleat knot” is for cleats and a “clove knot” is for pilings.
Making a ‘cleat knot’ is simple. Take the rope and slide it through and under the top of the cleat. Then, wrap the rope around the arms of the cleat and pull the rope to tighten the knot. Making a ‘clove knot’ is also pretty straightforward. Wrap the end of the rope around the pole (or the hook on the piling, if it has one). Then, loop it around the pole, before crisscrossing the rope under the second, looser loop. Finally, tug the rope to tighten the knot.
5. Making a Bow, Spring, and Stern Line

Upon arriving at the dock, make sure to securely fasten your vessel to the slip immediately. Below is a step-by-step guide that should be repeated whenever you are arriving at your rental dock:
- Tie a cleat knot at the beginning of the rope around the cleat at the bow of the boat;
- Create a “bow line” by passing the rope through the cleat at the dock, nearest to the bow, and make a cleat knot there*;
- Tightly pull the rope to the cleat in the middle of the boat to form the “forward spring line”, and tie a cleat knot around the cleat;
- Tug the rope to the cleat attached to the dock nearest to the stern of the vessel to create the “aft spring line” and then tie a cleat knot around the cleat;
- Run the rope through the cleat at the stern of the vessel to form the ‘stern line’ and make a final cleat knot with this particular rope.
You should aim to tie the clove knot at the lowest possible point on the piling. This is to reduce stress and pressure on the piling. Plus, it ensures that the piling will not break in the event of strong currents or severe weather (especially if is made of old wood).
6. Make Double Bow and Stern Lines

Forming a bow, spring and stern line is an essential first round when tying a boat to a dock. To complete the process, fasten the vessel tightly to the space you’re renting by creating double bow and stern lines. This is done by using two further ropes: one at the stern and the other at the bow.
Boaters can create these lines by:
- Looping a rope through the cleats that make up the stern line twice over;
- Tying cleat knots at both ends of the rope; and
- Doing the same with the other rope with the cleats that make up the bow line.
*When tying a vessel to a slip’s piling, boaters must tie cleat knots around the cleats on their vessel and clove knots around the pilings. Much of the procedure for tying a boat to pilings is very similar to tying it to cleats.