A Guide to Inspecting a Vessel Before Sailing
A pre-departure inspection is one of those habits that separates experienced boaters from those still learning the hard way. This guide walks through what to look at, section by section, from the moment you step aboard to the moment you untie.
According to the U.S. Coast Guard's Boating Safety Resource Center, equipment failures are among the leading contributing factors in recreational boating accidents. The good news? Most of those failures are entirely preventable with a systematic check before you cast off.
Think of it the same way a pilot walks through a pre-flight checklist before takeoff. No matter how experienced you are, working through the same routine every time means nothing falls through the cracks.
Before You Board
A bit of planning before you set foot on the vessel makes the whole process smoother.
Give yourself enough time. Don't squeeze the inspection in between rushing from the parking lot and a hard departure window. Plan to arrive at least 30-45 minutes early. A rushed inspection is barely better than no inspection at all.
Video everything as you walk through the boat. If a dispute comes up later with a charter company, a marina or an insurer, you have documentation of exactly what condition the vessel was in at departure.
Keep the crew off the boat until the inspection is done. It's a lot harder to systematically check every locker and compartment when someone is unpacking a cooler in the galley and someone else is asking where the life jackets are. Send the crew on a grocery run, ask them to grab coffee at the marina café or have them stow gear on the dock until you've completed the walkthrough.
Starting the Engine
The first thing to do once aboard at the marina or private boat dock for rent is start the engine. This gives it time to warm up while you carry out the rest of the inspection, and lets you catch any warning lights, unusual sounds or smells early rather than at the fuel dock.
Write down the engine hours. Note the fuel level. Test the throttle in forward and neutral, and briefly in reverse. Then head below to look at the engine compartment. Even if you're not a mechanic, the condition of the engine bay tells a story. A clean, well-organized space usually indicates a well-maintained boat.
A practical method for engine checks comes from the British sailing community, known as the WOBBLE checklist:
- W – Water filter: The cap is transparent on most marine engines, so clogging is easy to spot visually.
- O – Oil: Dipstick check for level; look around the base for any evidence of leaks.
- B – Belt: Press it with a finger. A properly tensioned belt shouldn't deflect more than about an inch.
- B – Bilge: Check under the engine for any accumulated fluid.
- L – Level: Confirm the coolant reservoir is topped up.
- E – Exhaust: With the engine running, cooling water should drain out at regular intervals. If it's not, something's off.
The Deck Walkthrough
Once the engine is running, work the deck from stern to bow, or in whatever direction makes sense for the layout. Pick one direction and stay consistent. Jumping around makes it easy to miss things.
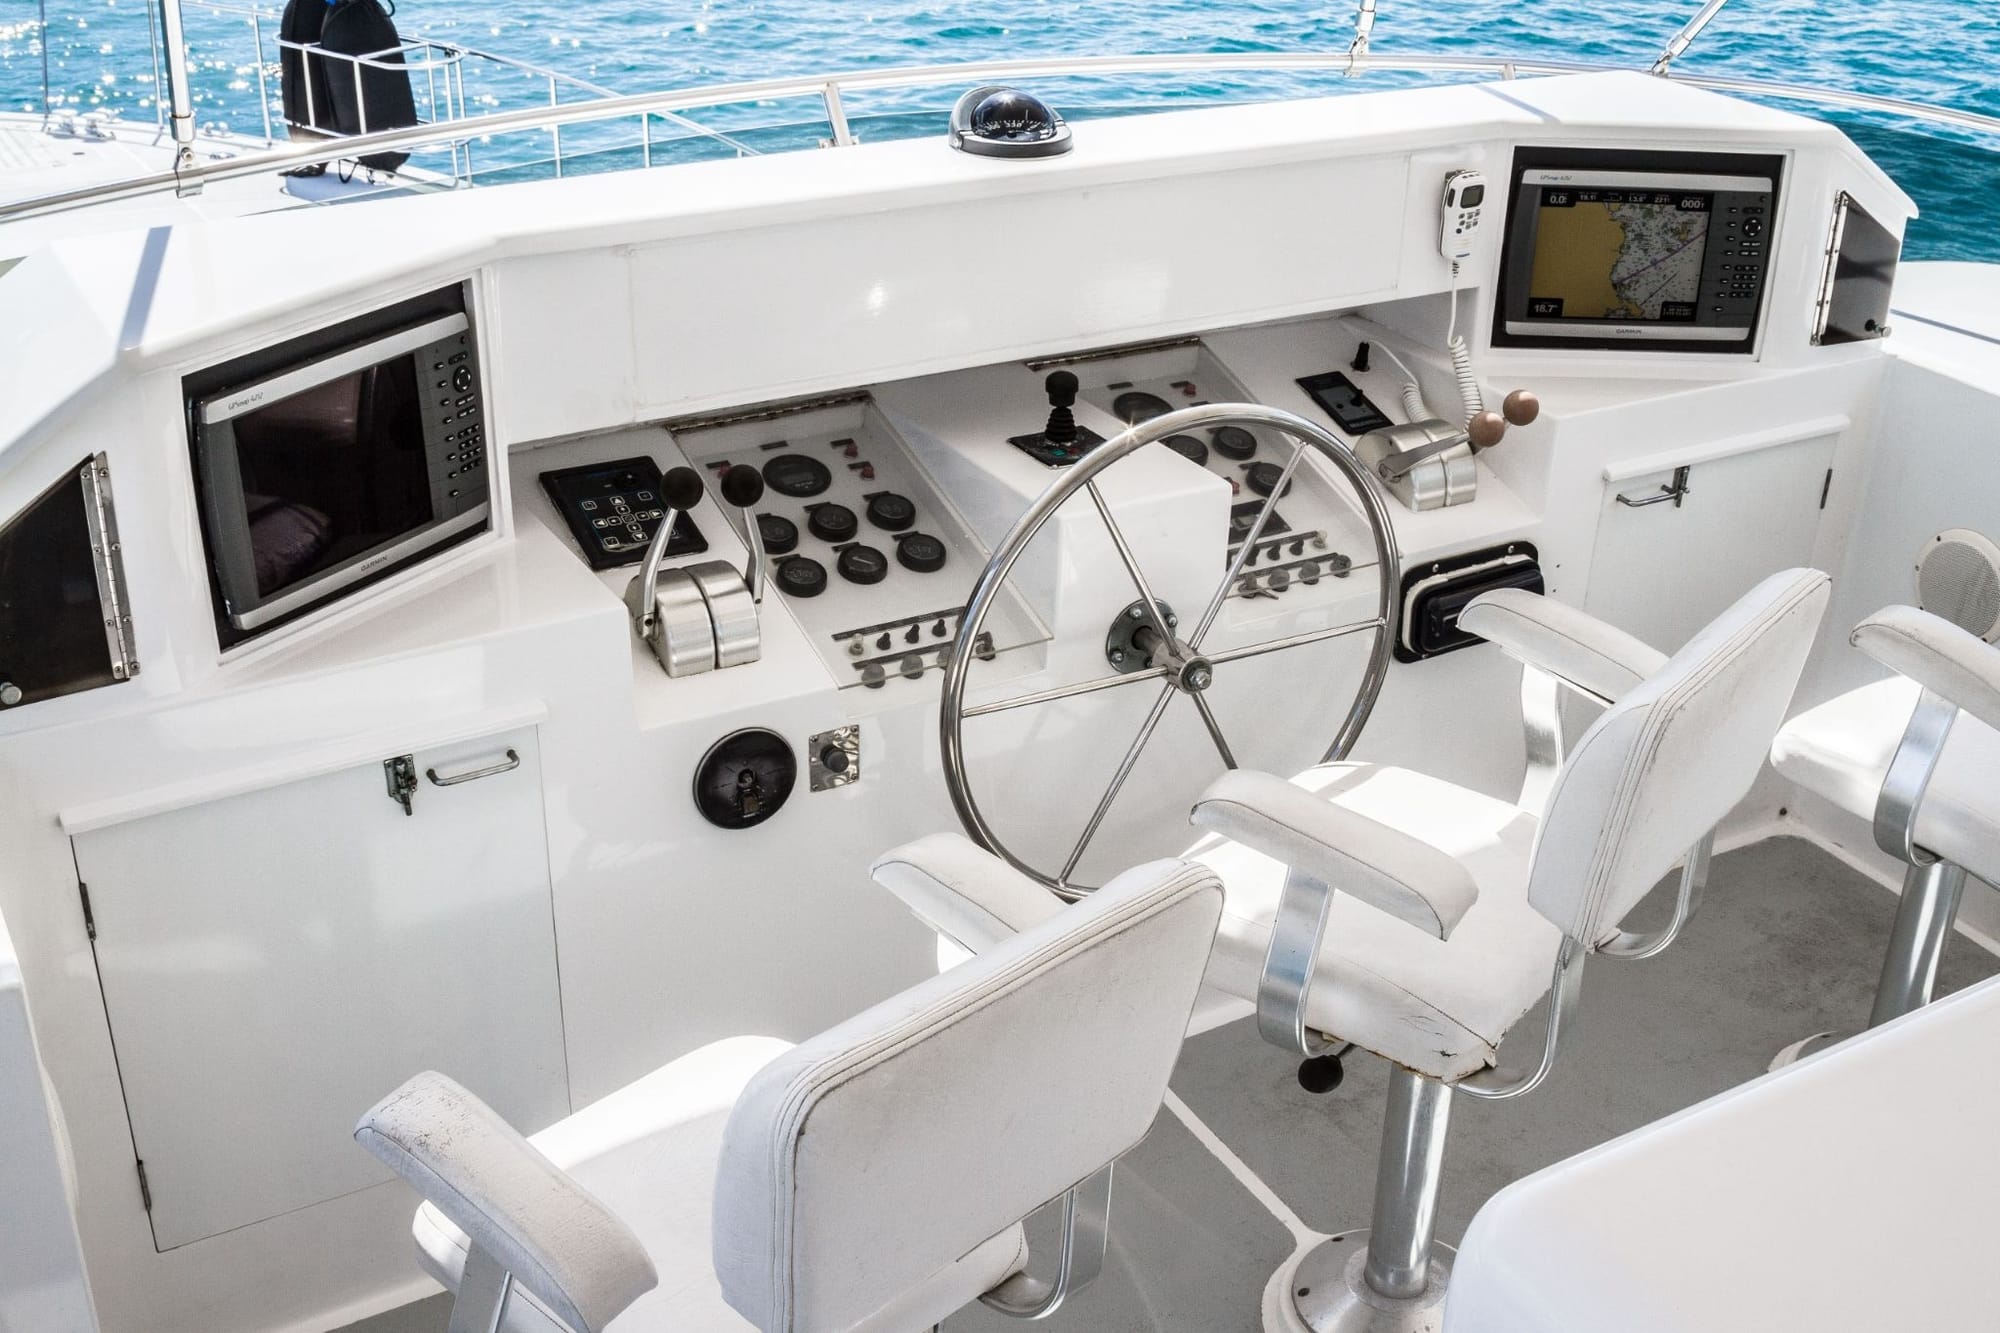
In the cockpit, turn the wheel fully in both directions and feel for how quickly the rudder responds. Any play or lag in the steering is worth flagging before you leave. Locate the emergency tiller and confirm you know how to deploy it. Test the winches, verify you have the right handles and open every cockpit locker to see what's inside.
Along the deck, work down the lifelines and stanchions, looking for looseness, cracked bases or corroded hardware. Check the dinghy and its davits or fittings. Look at the hull topsides for any impact damage, fresh scratches or cracks. Anything that wasn't there before is worth noting and photographing.
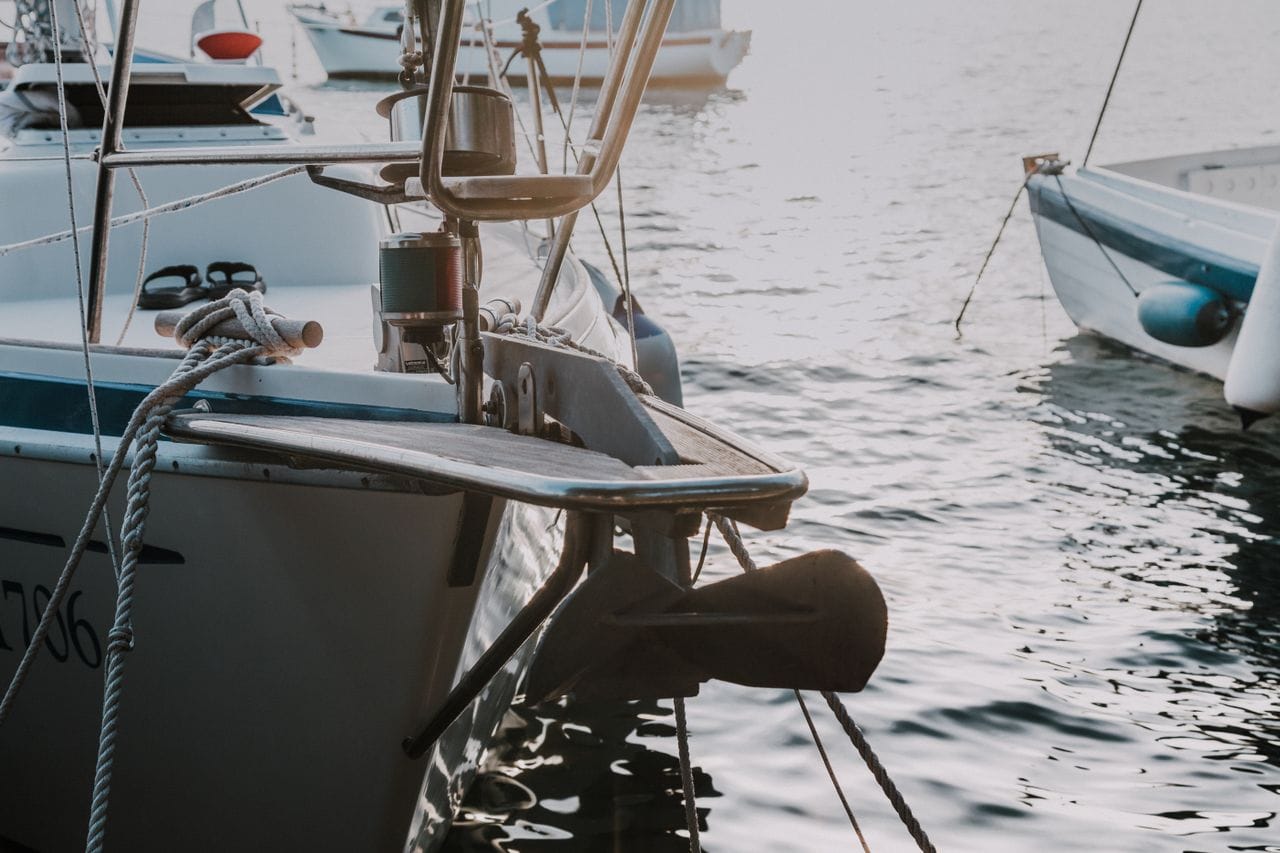
At the bow, start and test the anchor windlass with the engine on. Lower a few feet of chain, then bring it back up. Check the brake and inspect the shackle connecting the chain to the anchor. Confirm the anchor is secured properly at rest. Look for chain depth markings. Do you know how much rode you have? Also, test all running lights.
Boataround, a global yacht charter platform, produced a solid step-by-step walkthrough video of the vessel handover that covers much of the same ground as this guide:
Check the Sails (Sailors Only)
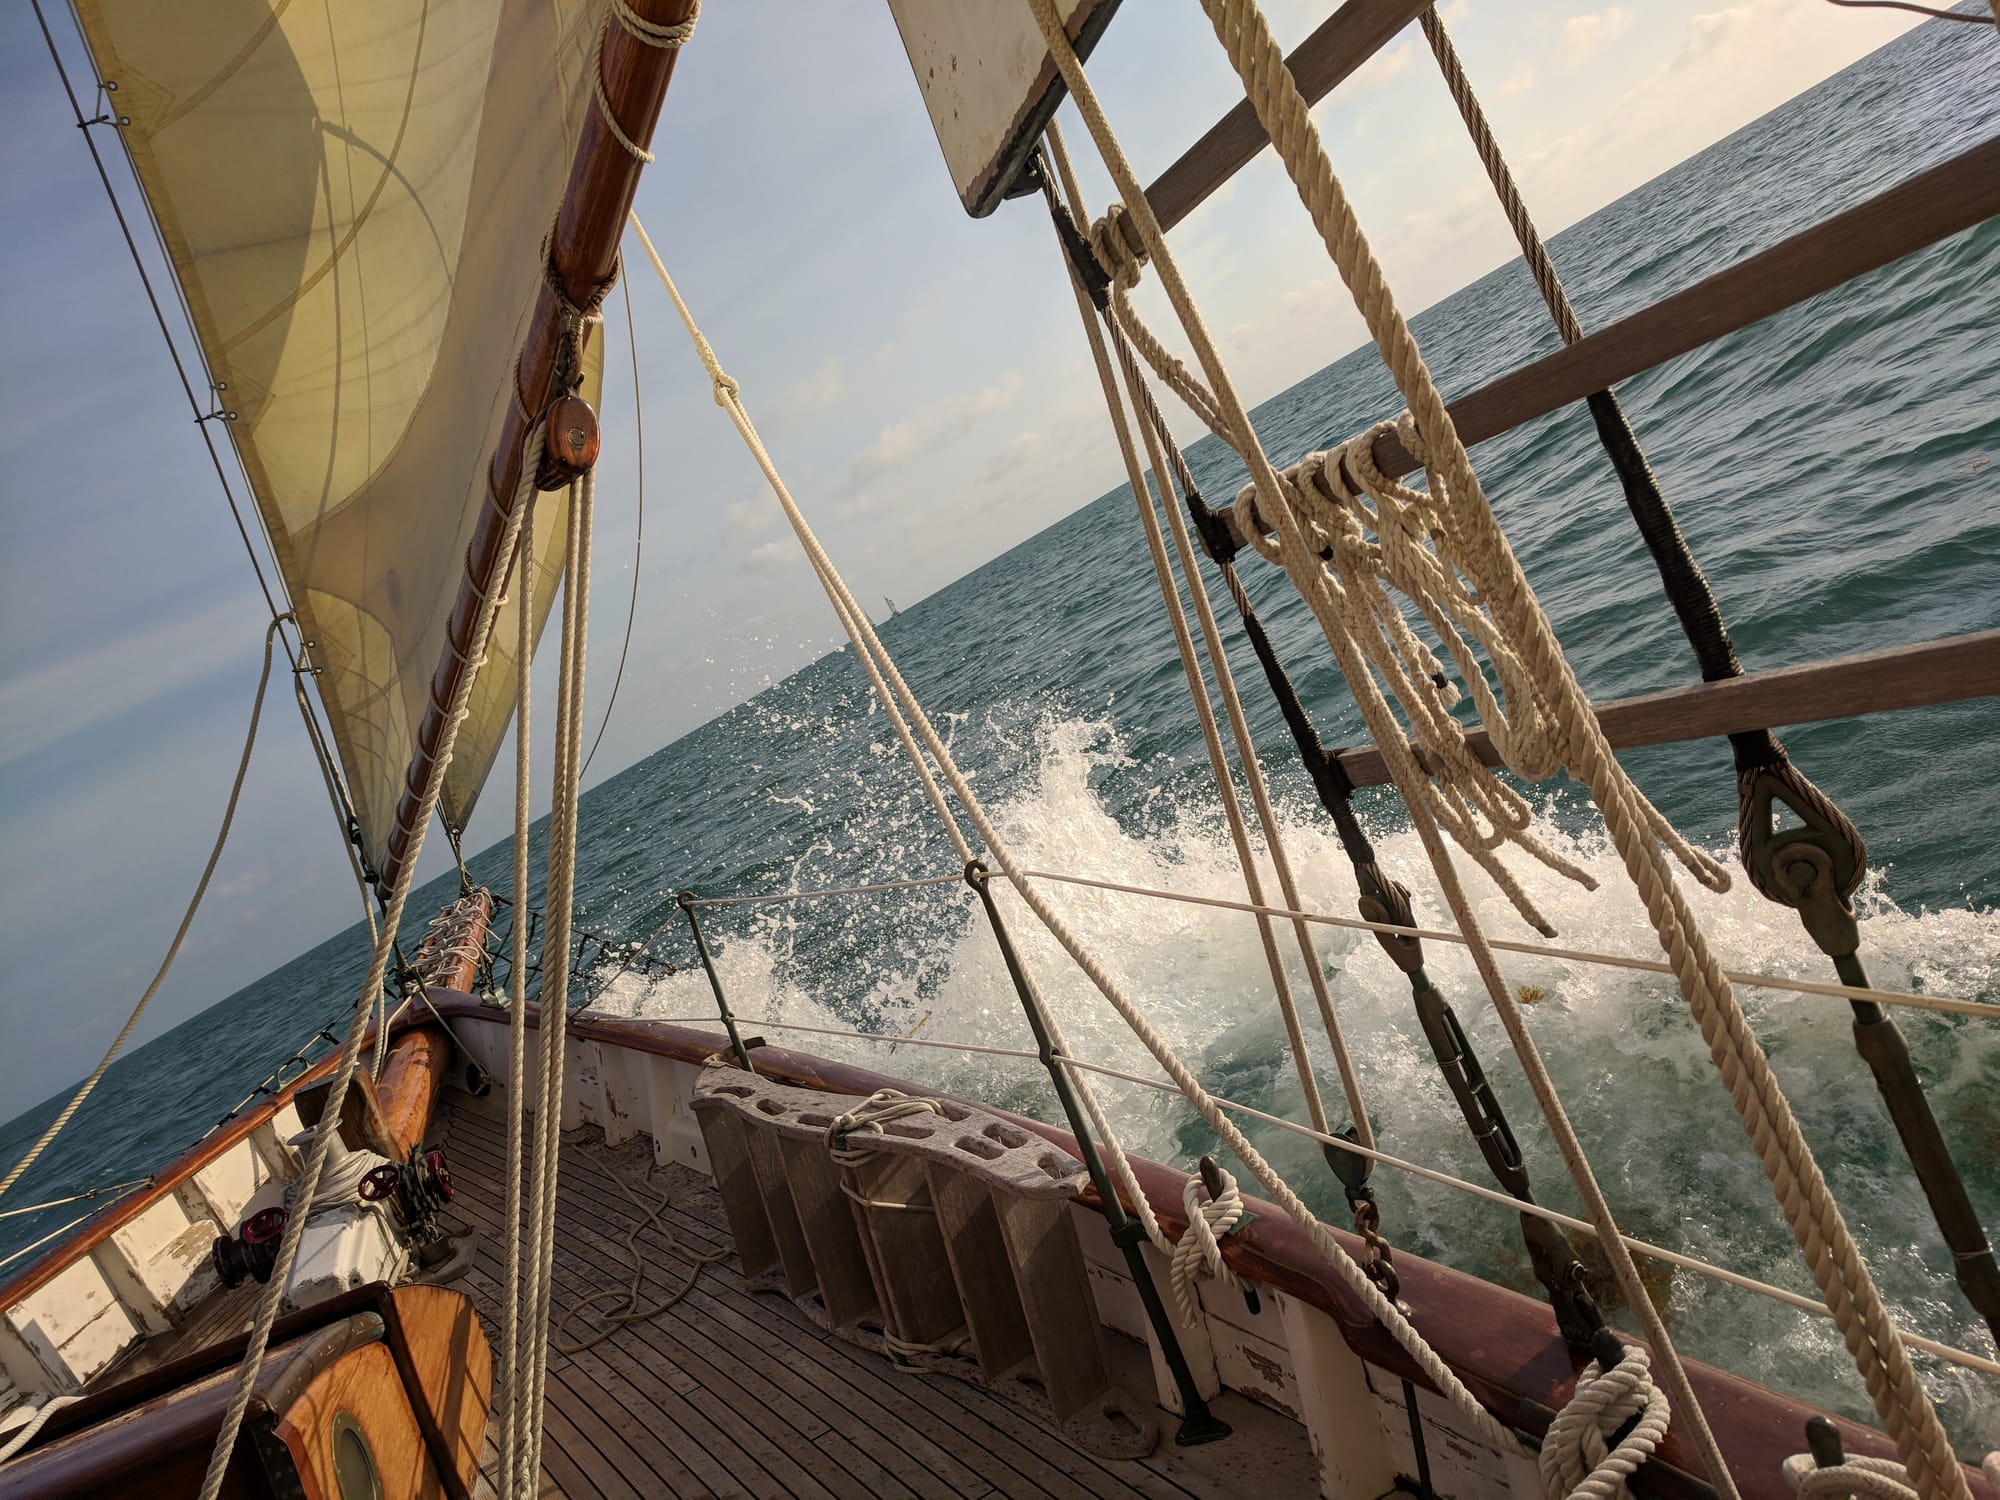
If conditions at the marina allow, hoist the sails and give them a proper inspection. Look carefully at the stress points: the clew, foot and leech of the mainsail, as well as the forestay area of the jib or genoa, which is where punctures most commonly occur.
If you find any damage, photograph it immediately and document it with the charter company or owner before you leave the marina or private boat slip for rent near me. In strong winds or tight quarters, you can do a visual inspection and defer the full hoist until you're offshore. Just make sure to log anything you find right away.
Go Below Deck
The lower deck deserves just as much attention as what's up top. Turn on every light, open every locker and work through the boat from cabins to salon to galley to nav station.
Pay particular attention to:
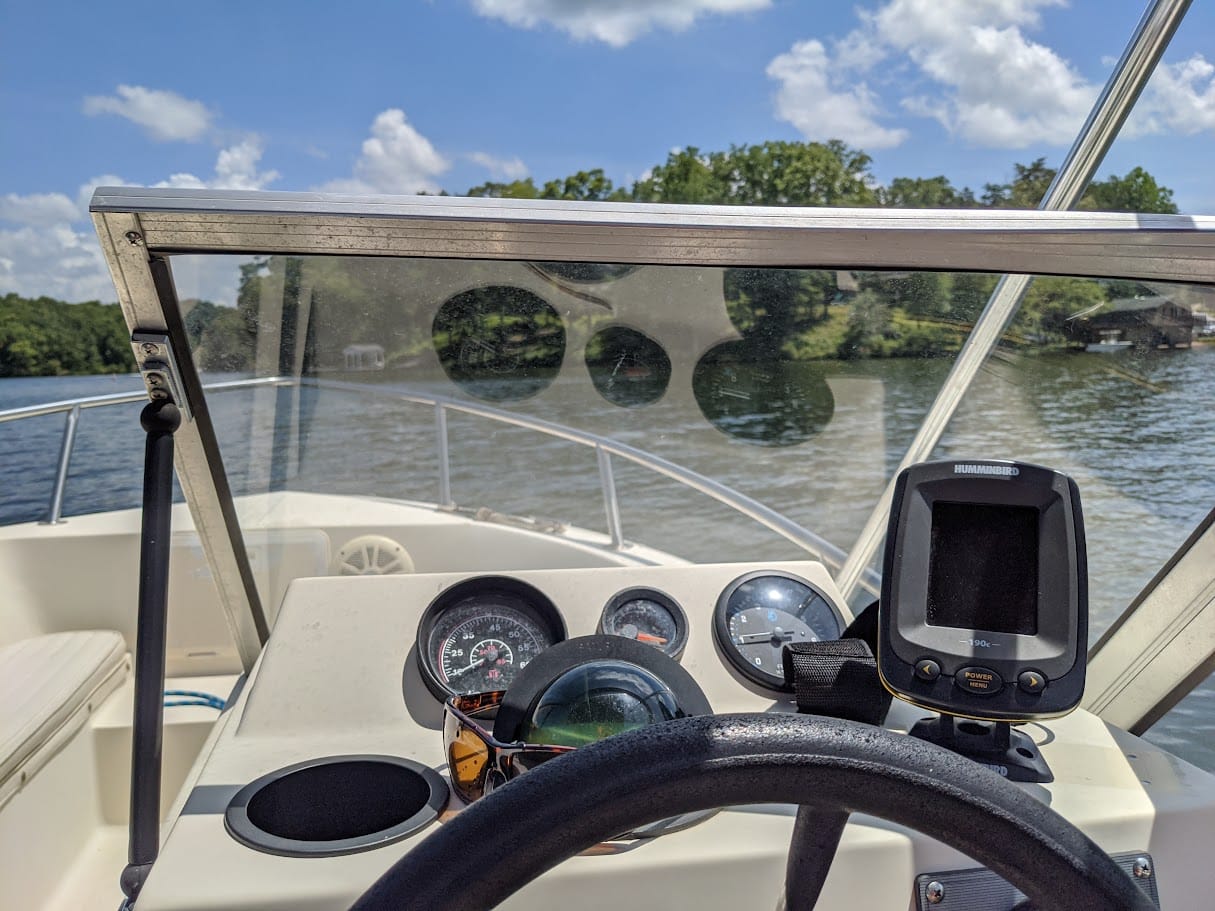
- Navigation electronics – Chartplotter, VHF radio, depth sounder and other devices: Know where they are and confirm they power on.
- Circuit breaker panel – Identify which breakers control the anchor windlass, bow thruster and other high-draw equipment. These are the ones that most commonly trip and catch people off guard underway.
- Freshwater system – Find the tank selectors and run the pressure pump briefly to confirm it works.
- Seacocks and through-hulls – Know where every valve is and confirm each one turns freely. This is foundational safety knowledge; if something goes wrong below the waterline, you need to know where to go.
- Waste system valves – They are not always where you'd expect them, especially on charter vessels.
- Generator and air conditioning – Test them if they're installed, even if you don't plan to use them immediately.
- Engine spares – Note the location of the impeller, spare belts and any basic tools.
Safety Equipment (Non-Negotiable)
The American Boating Association is clear on this point: every person on board needs to have access to properly fitting Coast Guard-approved life jackets. The skipper needs to know where every piece of safety gear is stored before leaving the dock or private boat lift for rent.
Walk through the full safety inventory and confirm:
- Life jackets – One per person, correct sizes and in good condition
- Throwable life ring or horseshoe buoy – Within easy reach of the helm
- Flares – Check expiration dates (flares expire after 42 months)
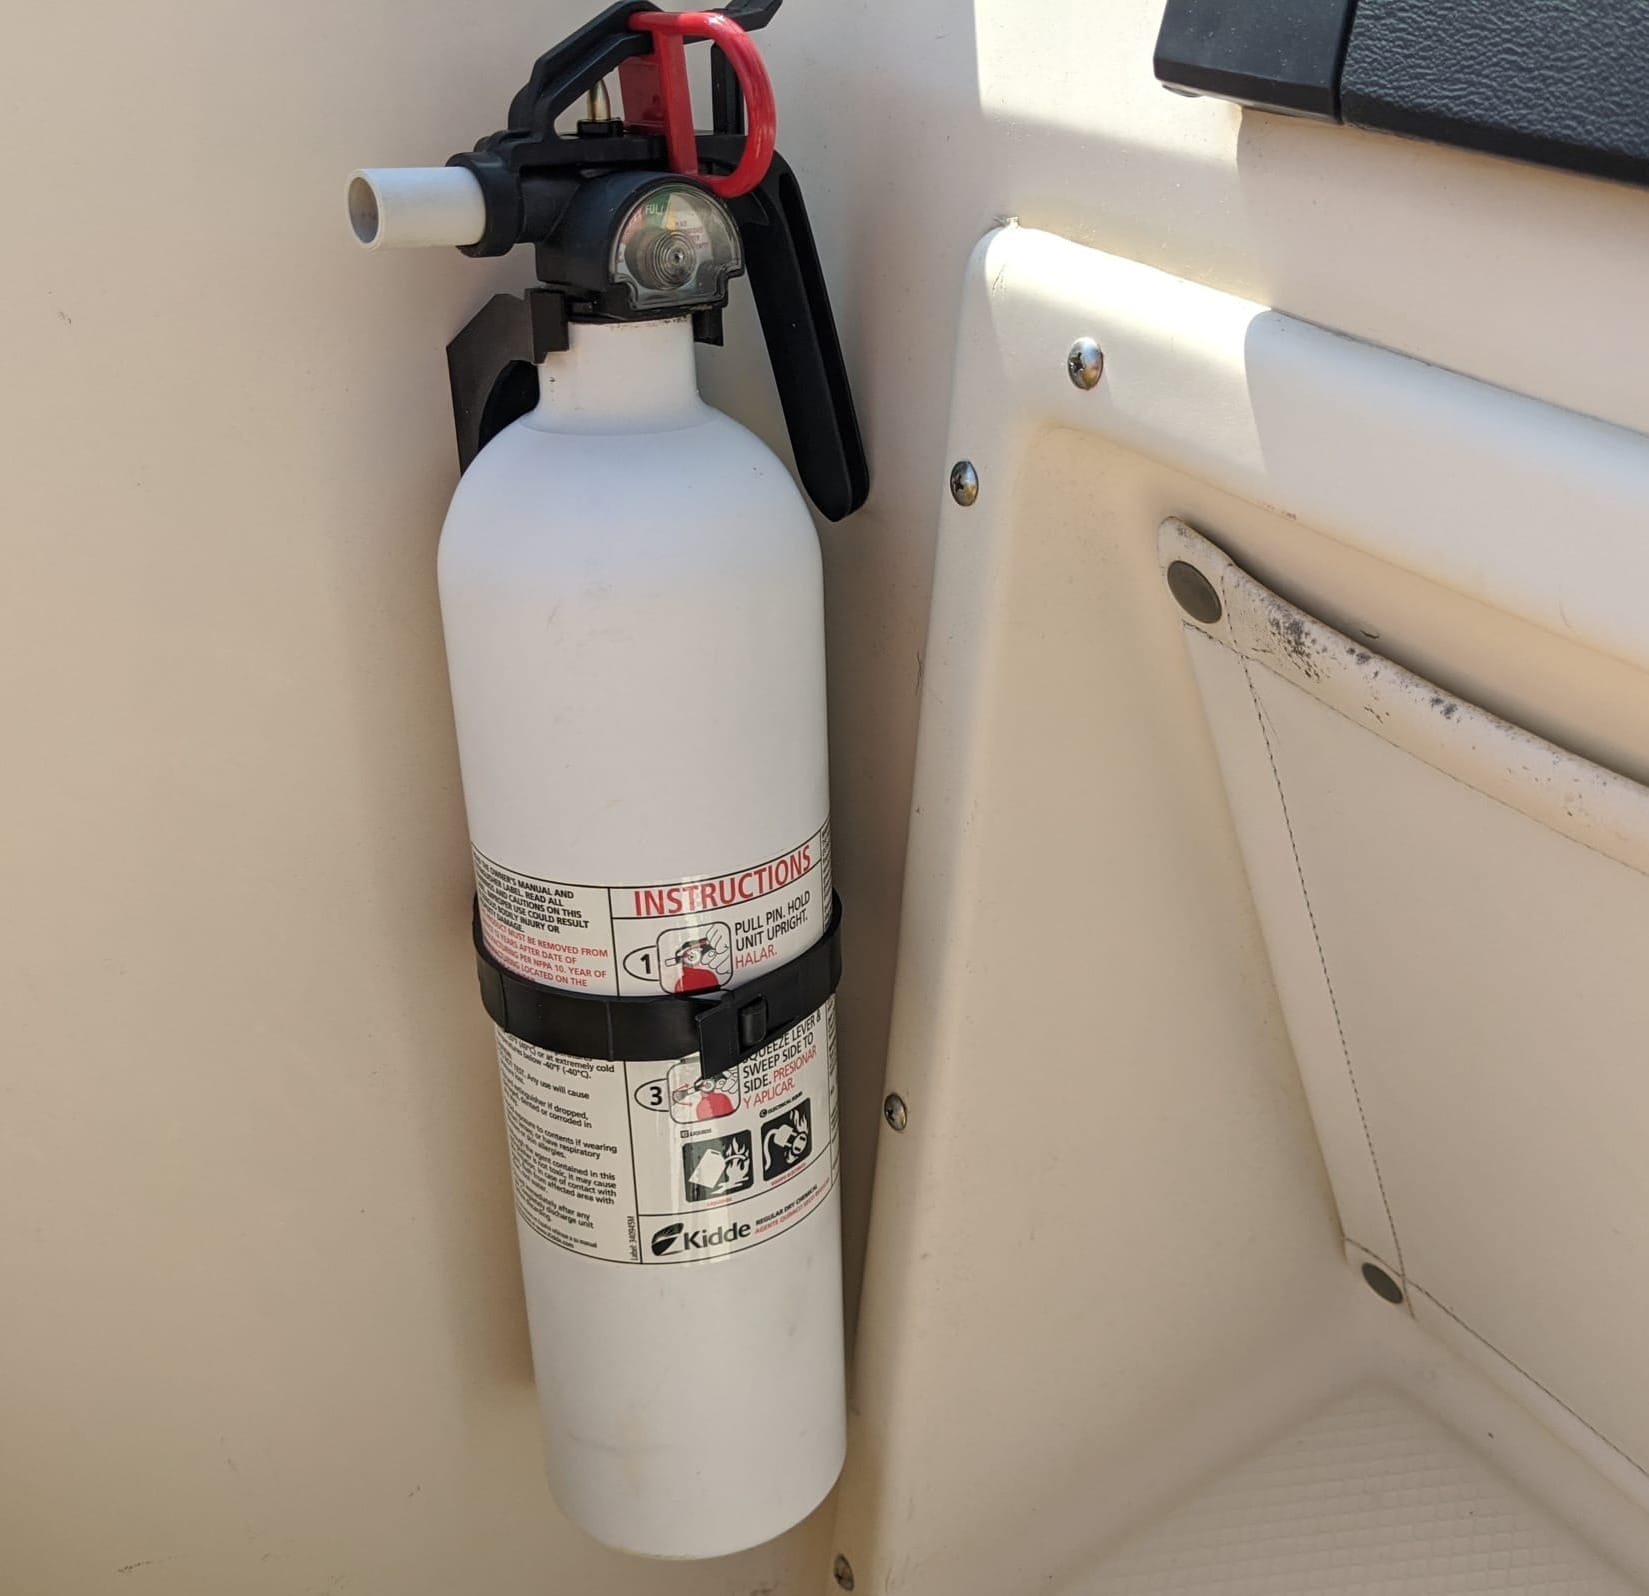
- Fire extinguishers – Proper rating, charged and mounted accessibly
- EPIRB or PLB – Registered, battery current and armed correctly
- First aid kit – Stocked and accessible
- Safety harnesses and tethers – For offshore or overnight passages
If anything is missing, expired or inaccessible, address it before you leave. No exceptions.
A Pre-Departure Checklist
Before the lines come off, run through this summary:
- Engine started, oil and coolant levels confirmed
- WOBBLE engine check completed
- Deck hardware, winches, and steering tested
- Anchor windlass tested with engine running
- All lights functional
- Sails inspected (or deferred to offshore)
- Below deck systems located and tested
- Safety equipment inventoried and accessible
- Float plan left with someone ashore
- Video walkthrough recorded
Knowing the Boat
There's a difference between being on a boat and knowing a boat. When you know exactly where the seacocks are, how the anchor windlass behaves and where the flares are stowed, you're not scrambling when conditions get sporty. You're sailing.
For boaters still building their skills on the water, our guide to improving your boating skills covers the fundamentals of boat handling, docking and reading conditions. It's a useful companion to the inspection habits covered here.